Microsoft Edge has a feature that alleviates the craziness with Tab Groups. It allows you to create groups of open tabs to help you better organize the pages. At the time of this writing, the feature is not enabled by default so you need to access the experimental settings to turn it on. Here’s a look at how to turn the Tab Groups feature on so you can better organize all of your open tabs.
Tab Groups for Microsoft Edge
To get started you might need to enable one of the experimental settings in Edge. To do that launch Microsoft Edge and type the following path into the address bar: Then under the Tab Groups section select Enabled from the dropdown menu.
For the change to go into effect you will need to restart Edge. Click the Restart button. To use the new Tab Groups feature launch Microsoft Edge and launch a few tabs. Right-click a tab and click Add to new group from the menu.
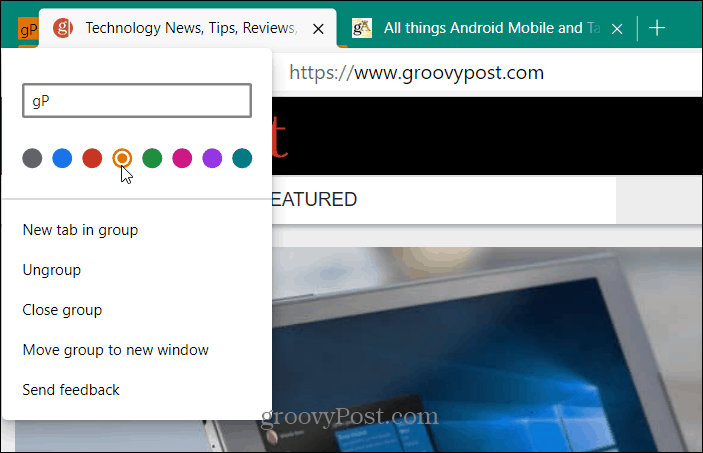
Give the group a name and you can color code the group as well. If you want to add an open tab to an existing group right-click the tab and choose the group to add it to.
Getting Microsoft Edge If you don’t have it yet, read our article on how to install the new Edge. If you are familiar with Google Chrome, you should have no problem diving in. Check out our other articles on the browser like how to add Chrome extensions or how to block crapware with Edge. The new Microsoft Edge is built on top of Chromium. It is truly cross-platform and available for Windows 7, 8, 10, macOS, Android, and iOS with a Linux version in the works.


![]()
