Search with Windows 10 Start
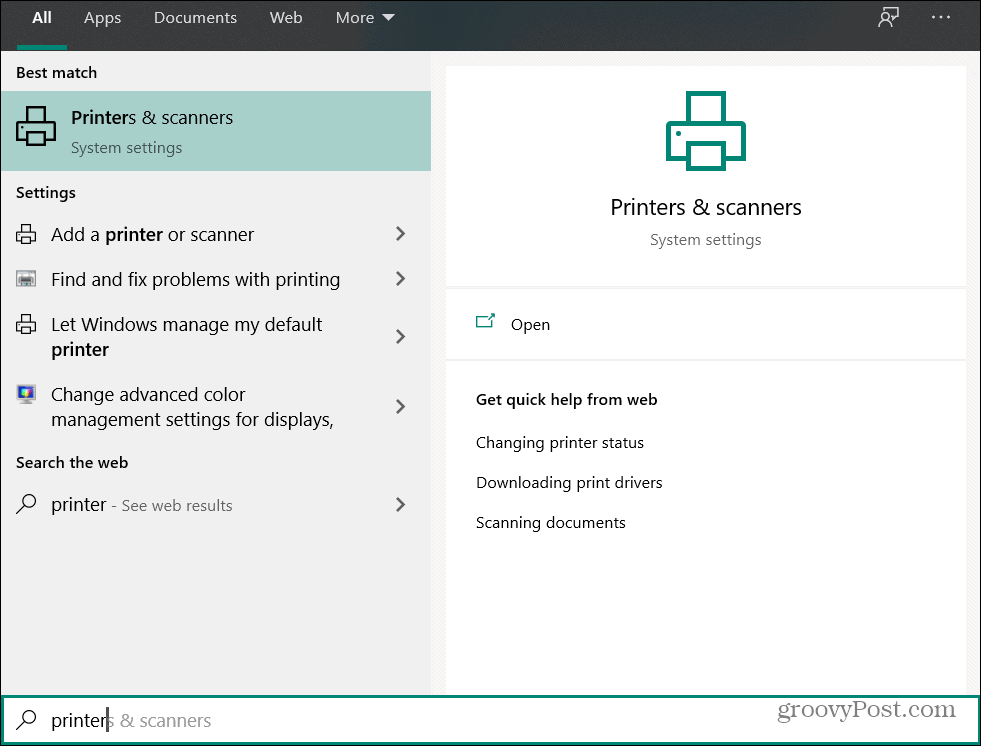
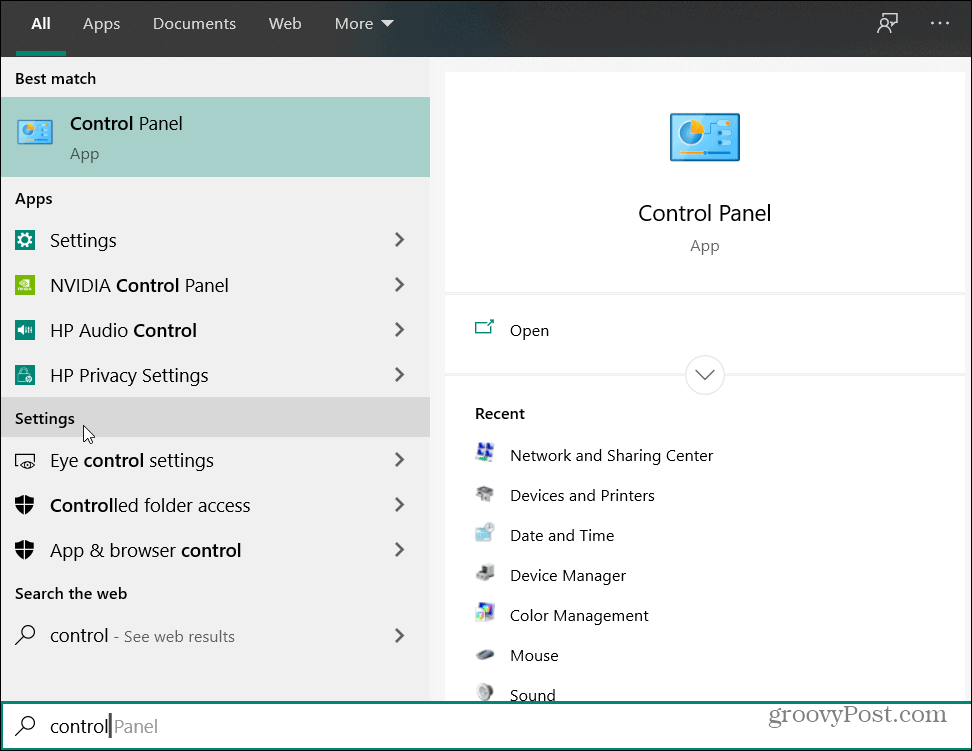
One of the easiest ways to find a setting or anything else for that matter is to use the Start menu. Simply hit the Windows key and start typing in your query. For example, you can type in “control panel” to bring up the classic legacy Control Panel if that’s how you are used to finding things. Or, type “Printer” to get ahold of printer and scanner settings.
The top result will appear at the top of the left pane of the Start menu. If you don’t see what you are looking for, click the Settings header for a more detailed list. After you click a matching item from the list the correct setting or app will open up.
Search the Settings App Itself
You can usually find the setting you need by opening the Windows Settings app. You can do it by heading to Start > Settings or by hitting the Windows Key + I keyboard shortcut. When it opens up there is a large search field at the top of the app where you can type in what you are looking for. Similar to Start, it will display matching settings while you are typing in your search query. In the example below I am looking for a specific display setting that I need to tweak. I can find what I need by simply typing “display” into the search field. But it works for other queries too like the clipboard, Bluetooth, or network.
If you are still not able to find what you need you can go old school and search for the classic Control Panel. Launch the classic Control Panel and when it appears type in the search box at the upper-right corner of the window and hit Enter.
The results will show up at the bottom of the window and you can click on the setting you need. Whether you need to find a mouse setting or a network setting, you should now be able to find what you need easier.
![]()


