Installing MicroSD Card on Surface
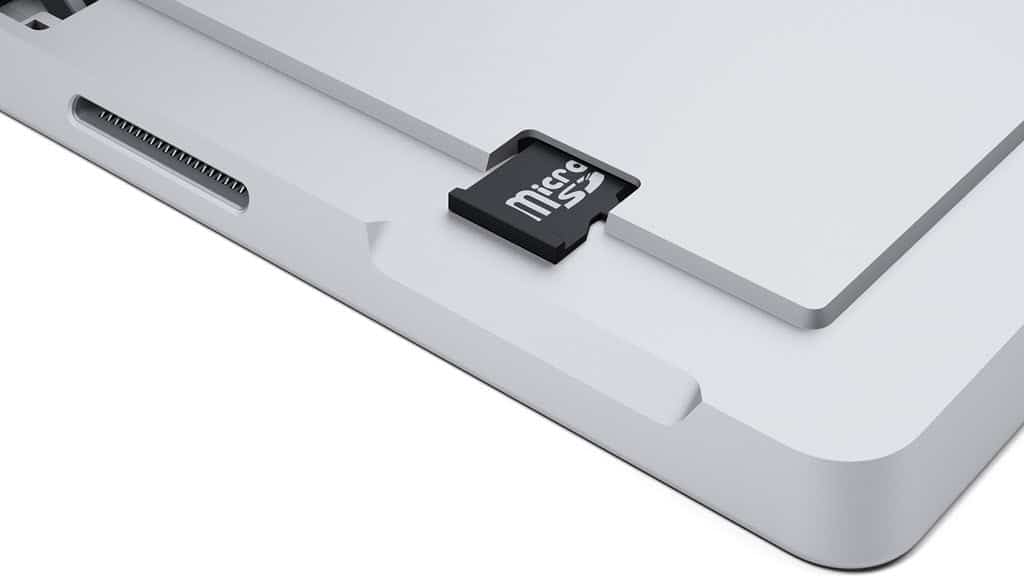
Installing the microSD Card is straightforward. The problem is finding the slot for it. It’s actually tucked away behind the kickstand just above the power connector.
After inserting the drive, it will be detected by Windows, and you’ll see a pop-up like this appear on your display.
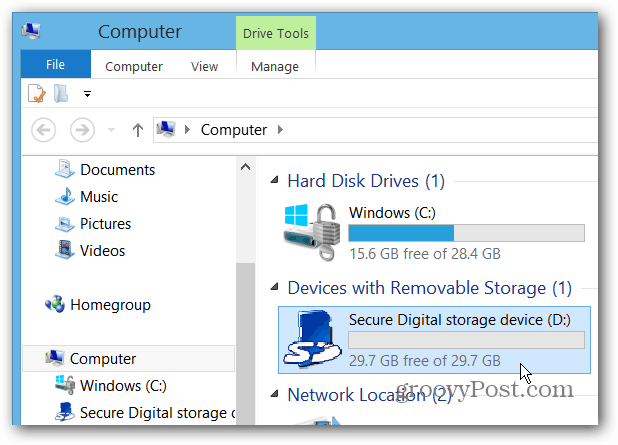
There you go! If you open “Computer” on the desktop, you should see your new card ready to handle your files.
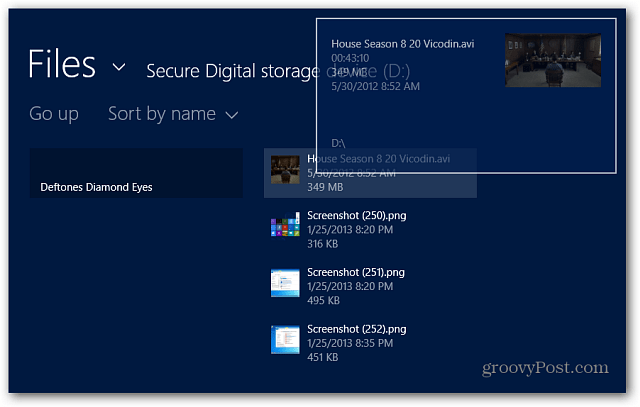
You can manually add and remove files and access them like any external drive from desktop or modern UI.
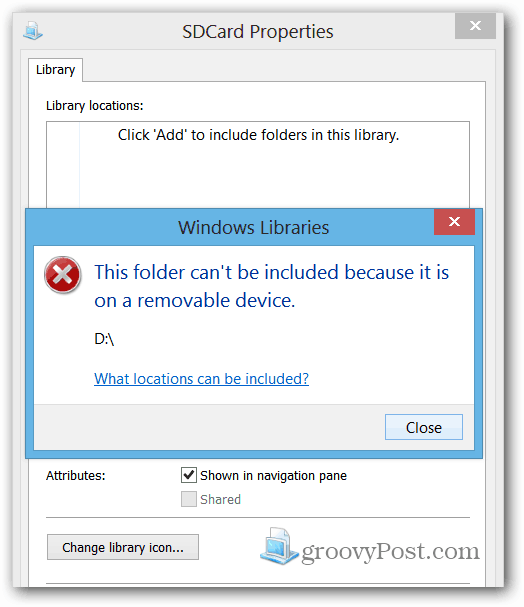
This is a great way to add more storage to your Surface, but it doesn’t work as seamlessly with Windows RT as you’d think. Libraries and metro-style apps are the issues. There is a workaround for this problem though, check out my article: Make a MicroSD Card Work with Surface RT Libraries and Apps.
And for more on SD card storage expansion, check out Jack’s article on how to choose an SD card for best performance. Comment Name * Email *
Δ Save my name and email and send me emails as new comments are made to this post.
![]()


